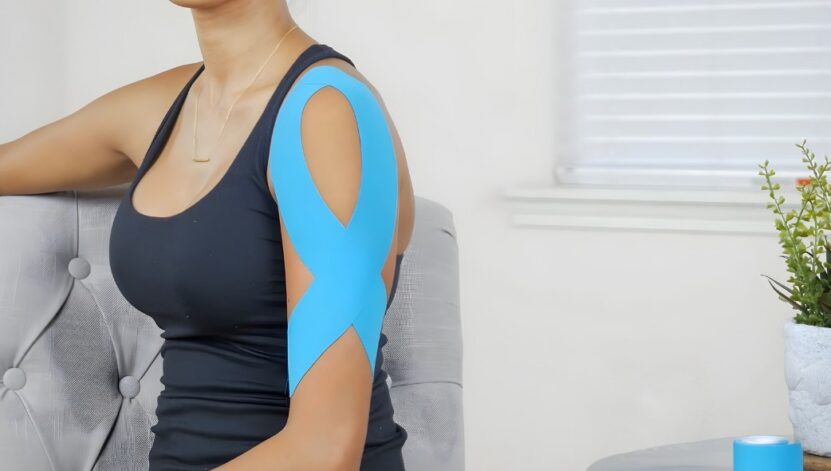
Applying Kinesiology tape (K tape) to your shoulder can seem like a difficult task, but it doesn’t have to be. If you’re an athlete, dealing with a nagging injury, or just curious about taping up like a pro, I’ve got you covered.
Let’s get straight to the point. Here’s everything you need to know to tape your shoulder like a boss.
1. Prep Like a Pro

First things first, preparation is key. No one wants to waste their time applying tape to a dirty, oily, or hairy shoulder. Trust me, you’ll regret it when you try to peel it off.
- Clean Skin: Make sure your shoulder is clean and dry. Use soap and water to get rid of any oils or lotions.
- Shave (if necessary): If you’ve got a hairy shoulder, it’s time to break out the razor. The tape sticks better to skin than to hair, and removing it will be a lot less painful.
- Dry It Out: Ensure your skin is completely dry before you start taping. Moisture will make the tape less sticky.
2. Choose the Right Tape
Not all K tapes are created equal. You don’t want to use some cheap knock-off that peels off after an hour. Go for a reputable brand that athletes trust. Your shoulder deserves the best.
- Quality Matters: Invest in good quality tape. Cheap tape is like a cheap umbrella – useless when you need it the most.
- Color is Just Aesthetics: Pick any color you like; it won’t affect performance. Though, if neon pink makes you feel more powerful, go for it.
3. Measure Twice, Cut Once
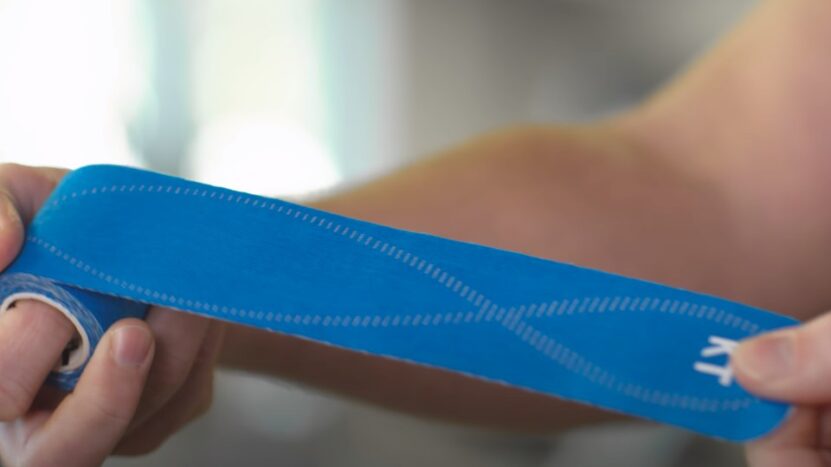
This isn’t some random arts and crafts project. Precision is crucial. Measure your tape strips correctly to avoid wasting tape and ensuring it covers the necessary area.
- Proper Length: Measure the tape length you need. It should be long enough to cover the area but not so long it wraps around your entire arm.
- Rounded Edges: Cut the tape with rounded edges. It helps prevent the corners from peeling up prematurely.
4. Know Your Shoulder Anatomy
Don’t just slap the tape on and hope for the best. Know the basic anatomy of your shoulder to target the right areas.
- Muscle Groups: Identify the main muscles around your shoulder that need support. This includes the deltoid, rotator cuff muscles, and the biceps tendon.
- Pain Points: Focus on the areas where you feel pain or need extra support. Taping random spots won’t help.
5. Stretch It, But Don’t Snap It
Applying K tape involves some stretching, but there’s a fine line between enough and too much. You’re not trying to create a slingshot here.
- Proper Stretch: Apply about 50-75% stretch to the tape when placing it on your shoulder.
- Anchor Points: Leave the ends of the tape unstretched to anchor them properly. This ensures the tape stays put.
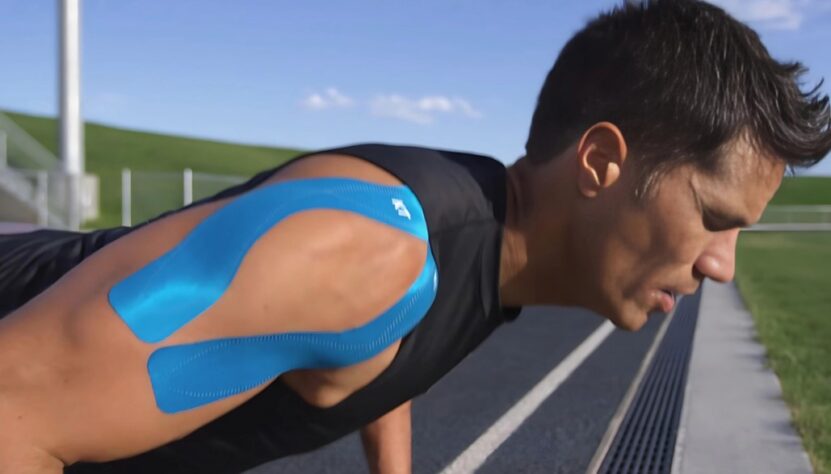
6. Application Techniques

Different techniques serve different purposes. Here are some popular methods for shoulder taping.
- Y Strip: Great for general support. Cut a long strip and then split one end into a Y. Anchor the single end and then apply the Y ends around the muscle.
- I Strip: Perfect for specific areas. A single strip applied over the problem area.
- Fan Strip: Used for swelling or lymphatic drainage. Cut multiple strips from a single base and spread them out over the affected area.
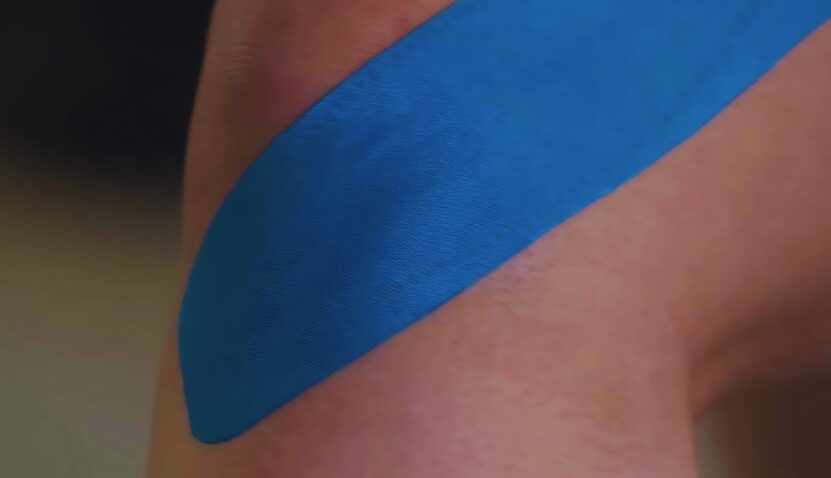
7. Stick It Right
It’s not just about slapping the tape on. The application needs to be done correctly to be effective.
- Apply to Anchor: Place the tape on the anchor point without stretching, then apply the rest with the needed tension.
- Smooth It Out: Rub the tape after application to activate the adhesive. A warm hand helps the tape stick better.
Avoid Common Mistakes
There’s plenty that can go wrong, but here are the main pitfalls to avoid.
- Too Much Stretch: Overstretching can cause skin irritation and reduced effectiveness.
- Poor Anchoring: If the ends aren’t anchored properly, the tape will peel off quickly.
- Wrong Placement: Placing the tape in the wrong area can make the situation worse.
Aftercare
You’re not done just because the tape is on. Maintaining it is crucial to its longevity and effectiveness.
- Pat Dry: If you sweat or shower, pat the tape dry instead of rubbing it.
- Avoid Lotions: Keep lotions and oils away from the taped area. They can weaken the adhesive.
K Tape Sometimes Doesn’t Do the Job
Sometimes, taping just isn’t enough. If the pain persists or worsens, it might be time to see a professional.
- Persistent Pain: If the tape isn’t helping after a few days, it’s time to consult a healthcare provider.
- Skin Reactions: Redness, itching, or blisters mean it’s time to take the tape off and give your skin a break.
Bonus Tips
Because I’m feeling generous, here are a few extra pointers to make you a K tape pro.
- Practice Makes Perfect: Don’t expect to get it right the first time. Practice your technique until you get it perfect.
- Learn from the Pros: Watch videos or ask a physical therapist for tips. They’ve got the experience and can offer valuable insights.
- Stay Calm: Don’t get frustrated if it doesn’t go perfectly. You’re not performing surgery here, just applying some tape.
Final Thoughts
Applying K tape to your shoulder isn’t difficult, but it does require some know-how. You can also check our guides on how to strap ankle with kinesiology tape. With the right preparation, tape, and technique, you can support your shoulder and get back to doing what you love.
Follow these tips, avoid common mistakes, and remember, if all else fails, there’s no shame in asking for help. After all, even the best athletes have a support team.